Project No. One: Reviewing Different Parts of the Computer and Learning Safety
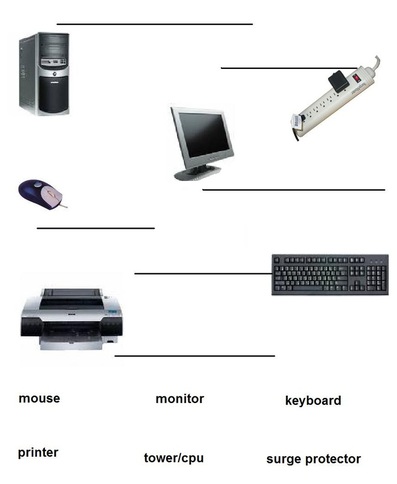 |
Reviewing Parts of a Computer
This worksheet is opened in Paint.
1. Open the Paint program by clicking on the desktop icon and press enter on the keyboard. 2. Students are to click the word "File" and then click "Open". A new window opens up. We then help them navigate through the Intranet (local network) to the template page pictured at the left. 3. Point out to students the "Box Select" tool ( a box with dotted border) in the upper left hand corner immediately above the paint bucket. 4. Click the "Box Select" tool and draw a box around the word "mouse". This word is now active and can be dragged to the answer line for the mouse. 5. Have them next do "monitor", again by drawing a Box Select and dragging it to the answer line. 6. Have them do the rest of the parts of the computer. If a student drags the word only part way and accidentally drops it over a picture, close the template without saving and start over. If a student drags the word and drops it on the wrong answer line, hopefully you can re-box select it and move it where it should go. If not follow directions immediately above. GLCE: PK-2.TC.3, PK-2.TC.5, PK-2.TC.2. |
Project No. Two: Creating a Picture in Paint
|
This was created in Paint. I choose Paint since it is installed on almost all Microsoft Computers.
GLCE: PK-2.CI.1, PK-2.TC.2. 1. Open the Paint program by clicking on the desktop icon and press enter on the keyboard. 2. Use the pencil drawing tool to draw a line from one side of "paper" tot he other. This is the horizon line between sky and earth. 3. Use the rectangle tool to draw a box on the horizon for the house. 4. Use the rectangle tool 4 more times to draw windows and door plus window in the door. You may change color selection for the box lines. 5. Use the pencil drawing tool to draw 2 diagonal lines to form the roof. Make sure they meet at the top and corners of the "house" of when you fill house with color it does the whole page. 6. Use the paintbrush drawing tool to draw the flowers and cloud's outline. Use color selection to change colors for flower petals vs stems and cloud. 7. Use paintbrush drawing tool to draw in bird in flight. 8. Use rectangle tool to make a skinny, long rectangle as the trees trunk. 9. Use paint bucket toll to fill color in the sky, ground, house, door, windows, tree trunk, and flowers 10. Use Airbrush tool to paint the "roof". I went over it twice. |
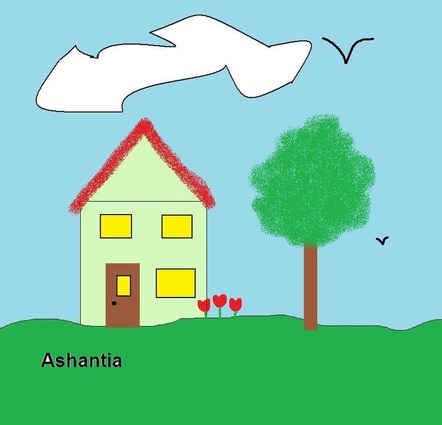 11. Use airbrush tool to paint the green leaves on the tree.
I drew around and around many, many times making the center of the tree
more green and allowing blue sky to show through on edges.
12. Use Text tool to create a good size text box. Once box is formed have students select Font type and size, then type their first name. 13. Use paint bucket tool to fill in the main white space created by text box. |
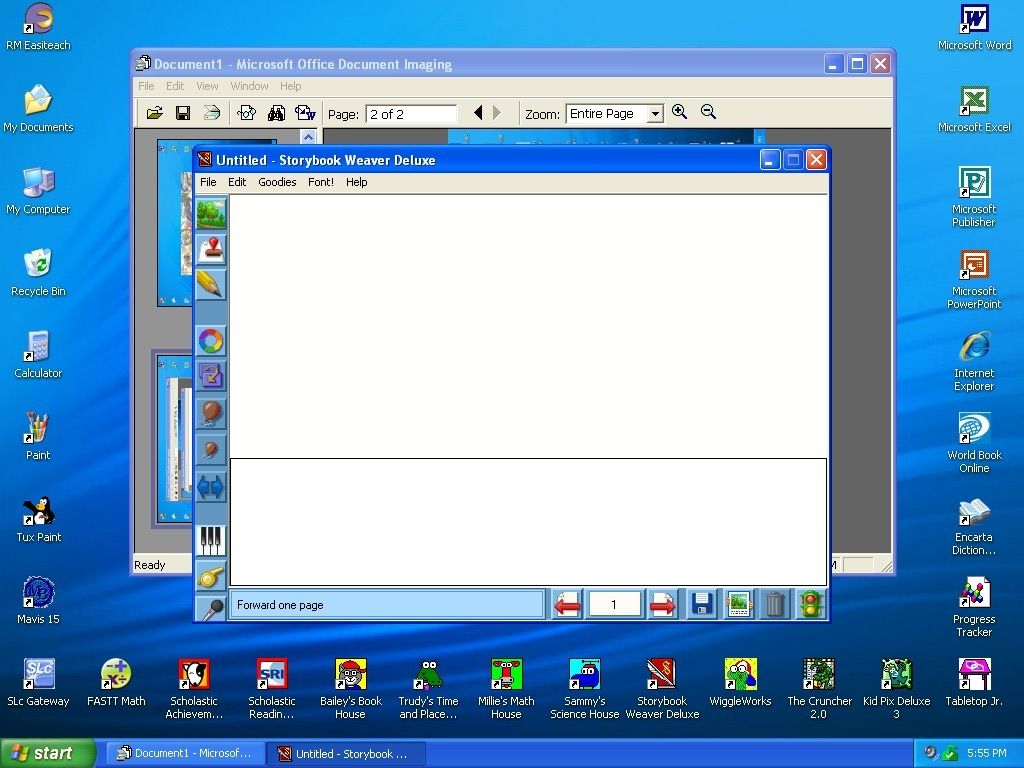
Project No. Three: Write a Story in Storybook Weaver
 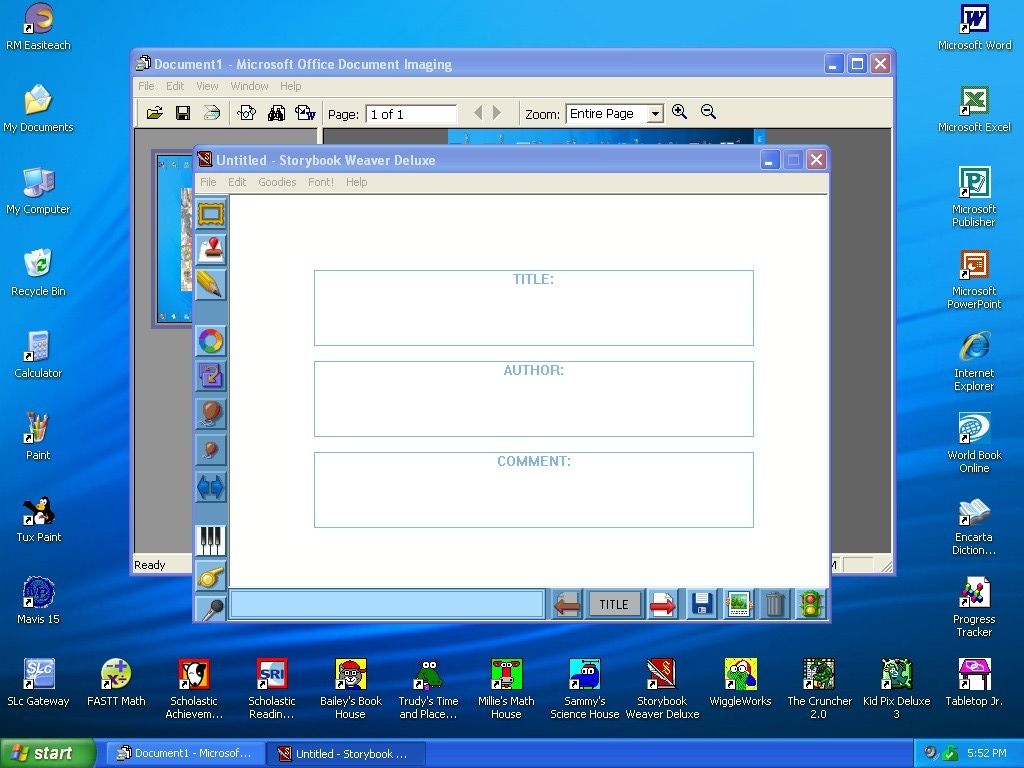     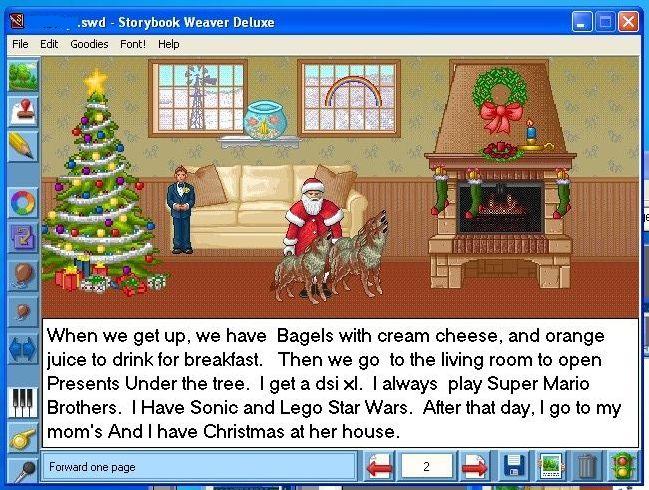 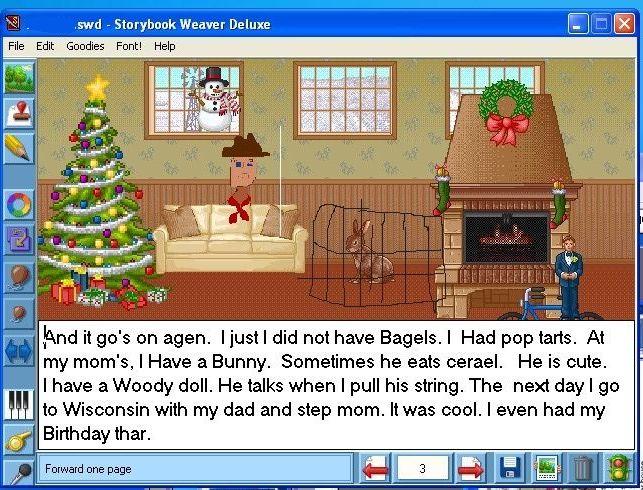 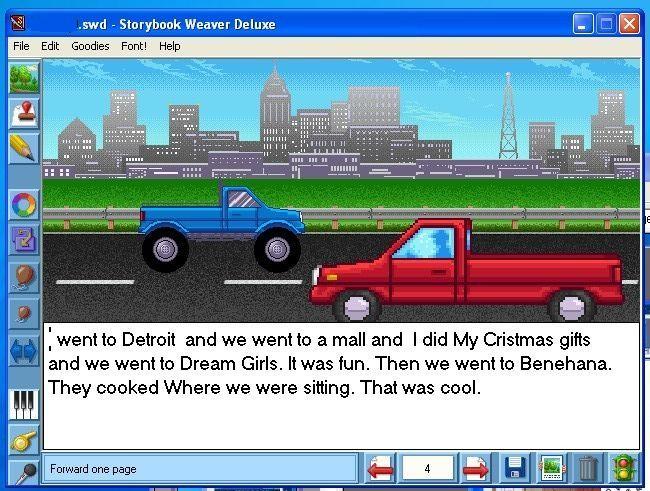 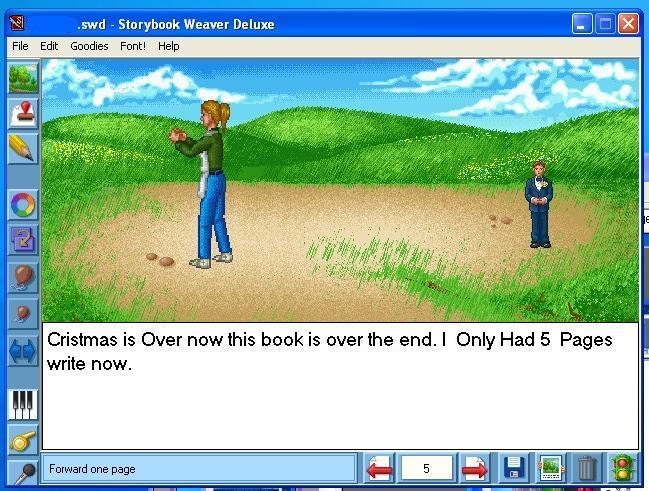 GLCE: PK-2.TC.2, PK-2.TC.7
|
Using Storybook Weaver is very easy. Perhaps the hardest part is saving
the story to continue working on it later. We have Network drives so
it is necessary to open through a few folders to get to where we want it
saved. But once it has been saved there and no one changes StoryBook Weaver's
pathway, when you log back in it reopens where you saved and can easily
click and open the book to continue working.
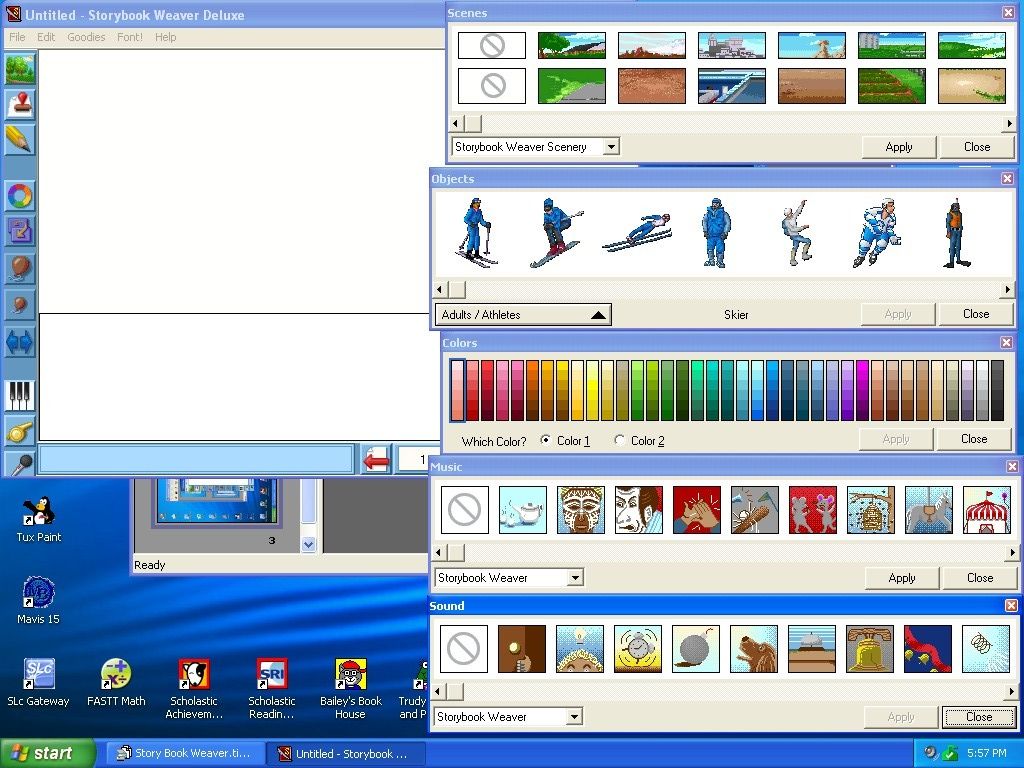
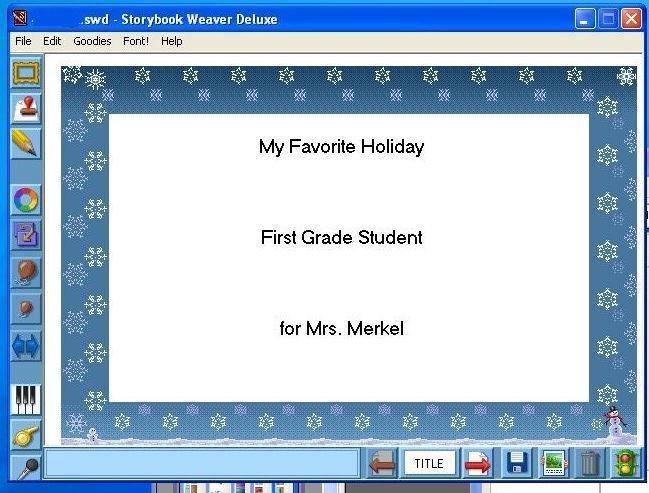
The Title page has
3 Text boxes: Title, Author, and the third can be Illustrator, a
Dedication or what you want it to be. Then your creator can choose a
boarder using the top left icon and even add stamps. Each following
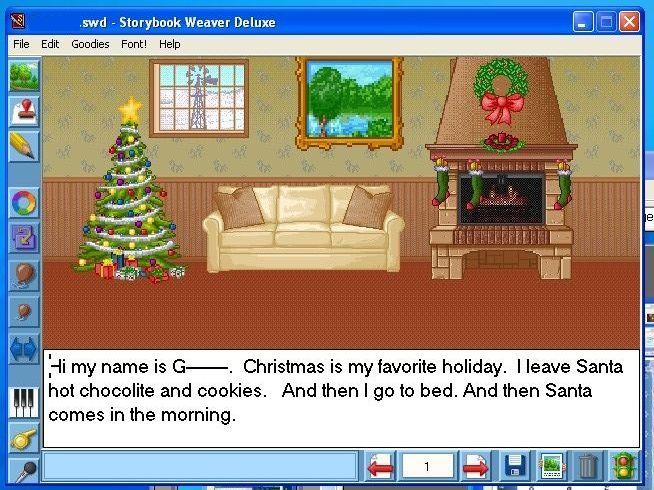
page has a text box along the bottom and the illustration across the
top. On the far left hand side is the tool bar for background,
stamps (dozens & dozens of them all sorted in categories and
subcategories), Create your own or edit a stamp (looks like a pencil),
Color (you can change current stamps color), Bring forward/send
backward, LG balloon makes active stamp bigger, small balloon makes
active stamp smaller, double directional arrows vertical switches stamp
facing in other direction and when you hold the Ctrl and click the arrow
it flips stamp horizontally. The piano keyboard adds music to the
page. The whistle adds sound to the active stamp. The microphone adds a
recorded sound to the active stamp (if you have a microphone on your
computer).
|
